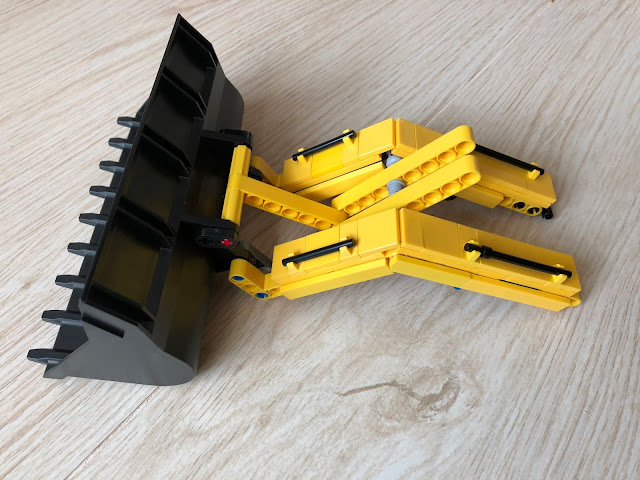
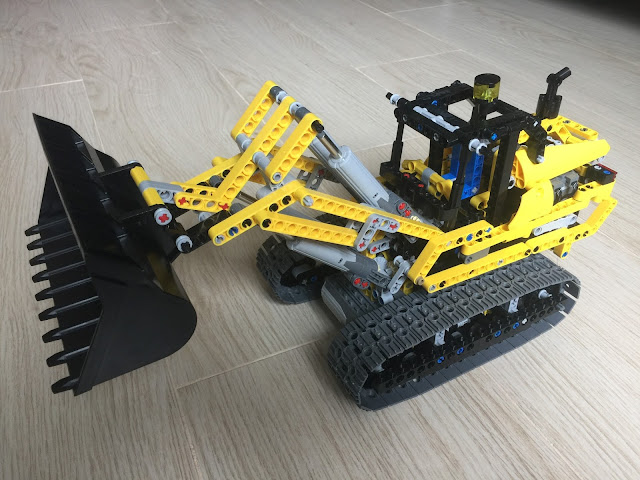
After installing or modifying a few models, it was the time to take up some challenges. I chose CAT 963D not only it was related to my work but also there were a few models had been posted in the internet so I could make reference. Among the several models, Makorol's model posted in 2012 was regarded as the best by many people, but he only posted with 20+ photos and a YouTube video. Nonetheless, it was better than nothing and I could make reference by counting the number of bricks to measure the dimensions.
In the beginning, I had no clue on how to start but ordering a large number of bricks and plates with different lengths and shapes. It took me a whole month and a few times to order and have the bricks and plates I needed.
Undercarriage
To make the undercarriage was not difficult as it was similar to those Lego Technic's. I used two PF motors and one PF controller to control two tracks so that they could turn independently.
Upper Structure & Cab
It was not very difficult as they were not required to be a strong structure. However making sure you used different shapes of bricks and plates to reinforce the structure and used nail polish if necessary.
The structure to support the lifting arms' push rods and motors was another story. Each push rod was driven by a PF motor through a universal joint. As the push rods were supporting the weight of the lifting arms and bucket, it must be strong and solid, so I used glue to reinforce the structure.
Lifting Arms & Bucket
It looked very simple but you needed to try different lengths to make a smooth lifting up and down motion.
IR Remote Control
I used two PF remote controllers to control two tracks, lifting arm's up and down, and bucket curling. To have enough space to house the battery case at the back, I put one PF controller at the front which was beneath the lifting arm structure. The compact battery case was nicely installed at the back of the engine compartment. The engine compartment room can be opened to take out the battery case for batteries replacement.
SBrick Control
As I had a spare SBrick, I later modified the model with SBrick control.


